Tips for Fixing a Leaking Brick Window Sill
If your home is inspected, the inspector may notice holes in the mortar of the brick window sills, which could correspond to signs of interior damage, such as bubbled paint beneath windows.
During an inspection, it may become evident that water is entering the walls through these points. Simply applying caulk may not fully resolve the issue.
Improper installation of brick window sills could be a contributing factor. What are the best practices for installing brick and door window sills to prevent water leakage?
What Is the Proper Method for Constructing Leak-Proof Sills?
Creating a step-by-step guide to constructing leak-proof brick window and door sills is a complex topic that could easily fill an entire book, making it difficult to cover in detail here. However, I will provide key insights to help you understand the process, including the critical role of applying a proper sealant under windows to prevent water leakage.
Is Brick Veneer Prone to Significant Leaks?
Yes, brick veneer buildings are particularly susceptible to water damage if not constructed properly. Many modern brick homes and some commercial buildings feature a brick veneer, which is a single layer of brick. This layer acts solely as a facade and offers no structural support, making it more vulnerable to leaks and water infiltration.
In contrast, older brick homes and multi-family buildings, often found in historic cities or towns, were constructed with walls two or even three layers thick. These thicker walls provided both structural support and enhanced resistance to water penetration, significantly reducing the risk of water damage.
Do All Brick Buildings Leak?
Let’s begin by examining the water resistance of brick buildings. Many homeowners and business owners assume that brick structures are waterproof. However, the reality is that water can penetrate brick walls quite easily.
In your situation, with visible holes in the mortar, it is clear that water can flow directly into the cavity behind the brick.
What Makes Older Brick Buildings Resistant to Leaks?
Years ago, builders and brick masons noticed the issue and began using different types of brick in exterior walls to prevent water from entering the structure. The brick on the outside of the building was harder and denser than the brick hidden within the walls.
The inner, softer brick acted like a sponge, absorbing water during a rainstorm. Once the storm passed, wind and sunlight would draw the moisture out of the inner brick, drying it through the exterior facing.
Which Silane Siloxane Sealer Is the Best?
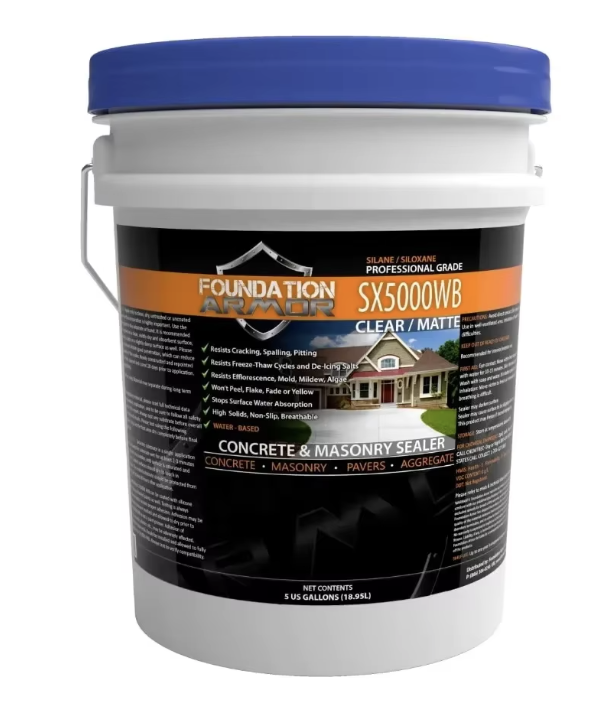
To address brick sill leaks, start by filling all cracks and holes thoroughly. Next, apply multiple coats of the solvent-based silane/siloxane sealer listed below. Be sure to follow the product instructions carefully for optimal results.
What Are the Best Practices for Flashing?
The Brick Industry Association’s best practices recommend installing flashings beneath window and door sills. These flashings are designed to capture water that seeps through mortar joints and channel it outward, preventing it from entering the wall.
Base flashings should also be installed beneath the first course of brick and at other critical points on brick veneer walls. Avoid using aluminum for flashing with brick, as the alkali chemicals in the brick and mortar will eventually cause aluminum to corrode.
Stainless steel is a better choice, as it resists corrosion in most environments. For brick exposed to direct salt spray or salt fog near coastal areas, specialized stainless steel is recommended to ensure durability.
Water Management Solutions
Additional materials are often installed behind the brick veneer to prevent wet mortar from obstructing the flashings and weep holes at the base of the brick walls. These weep holes are intentionally designed to allow water to drain out of the wall.
Building a leak-free brick veneer wall requires a high level of skill and meticulous attention to detail to ensure all components function correctly.
Is Caulking Holes the Right Solution?
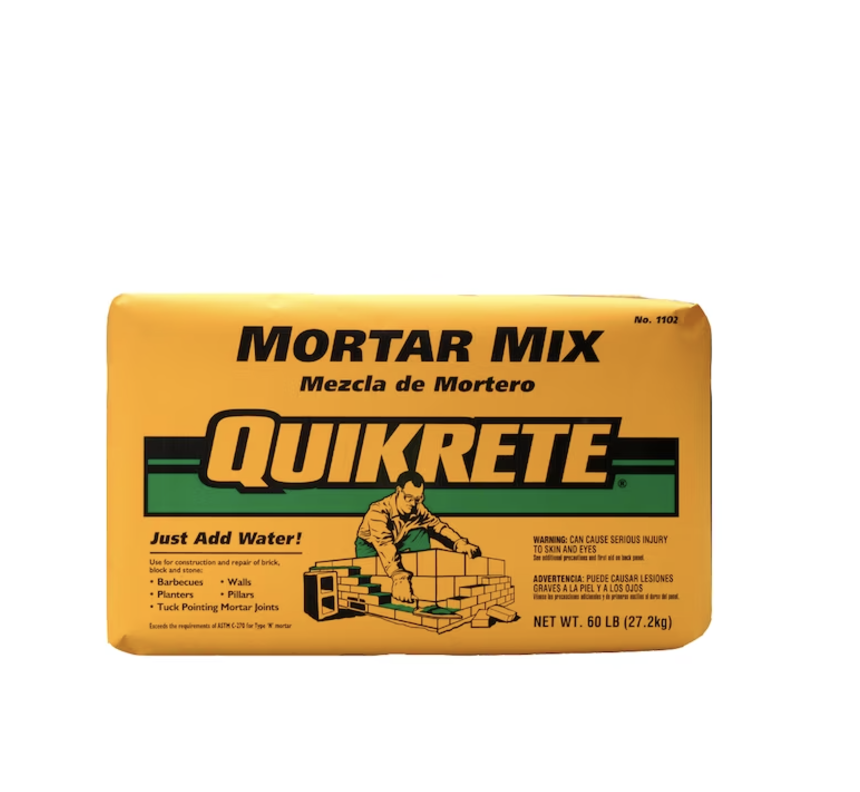
Avoid caulking the holes; instead, fill them with mortar that matches the existing one. To achieve a match, you’ll need sand that closely resembles what the original bricklayer used.
Carefully examine the mortar joints, focusing on the size and color of the individual sand grains. Keep in mind that when you mix new mortar, the cement paste will coat the sand, giving the mortar a uniform color initially.
Over time, natural weathering will erode this thin cement layer, exposing the sand underneath. To speed up this process, you can perform a mild acid wash on the new mortar patches after 30 days.
Using a small brush, carefully apply an acid-water solution directly to the new mortar. You’ll notice bubbling as the acid reacts with the alkaline cement paste. Thoroughly rinse the area with clean water afterward to complete the process.
Which Mortar Is the Best?
If you build a brick veneer home in the future, you can reduce water infiltration into the wall cavity by using the type of mortar that was common over a century ago. Unlike modern mortars, which contain a high percentage of Portland cement, traditional mortars used much less Portland cement and a greater proportion of hydrated lime.
For a lime-based mortar, the ideal mix is 8 parts hydrated lime to 2 parts fine volcanic sand with a high silica content, such as light-colored volcanic ash. This blend is then combined with the usual amount of sand used in traditional mortar.
Hydrated lime is particularly effective because, if small cracks form after installation, water interacting with the lime can trigger the growth of microscopic crystals that often seal the cracks. It’s highly recommended to hire a mason experienced with hydrated lime mortars for such work.

